|
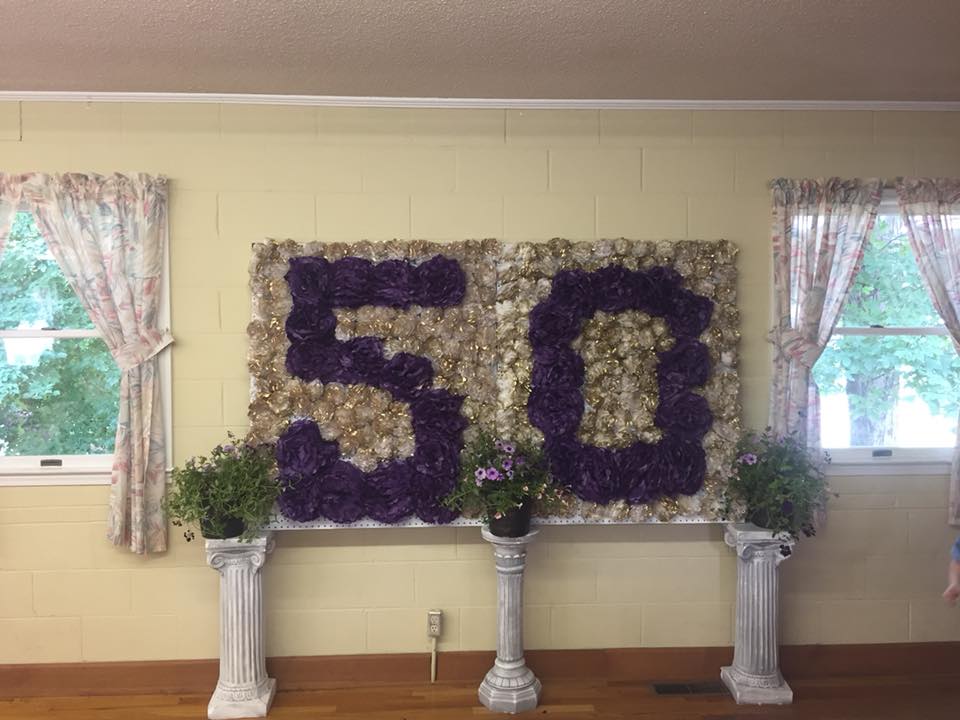
I know, the title sounds a bit cocky. However, I think we should all be aware of our talents and I think DIY decor runs in my family. I learned a lot from my mom and my mom usually helps me on the parties I've decorated for. Today, I'm going to share some photos from my wedding and my mother-in-law's 50th birthday party. Keep reading for a few tips to decorate your party venue beautifully! 1: PHOTO BACKDROPS ARE A MUST!
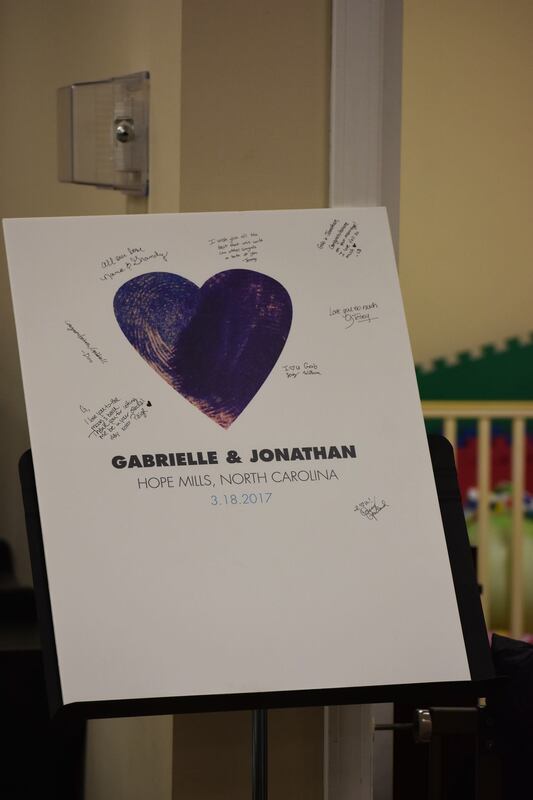
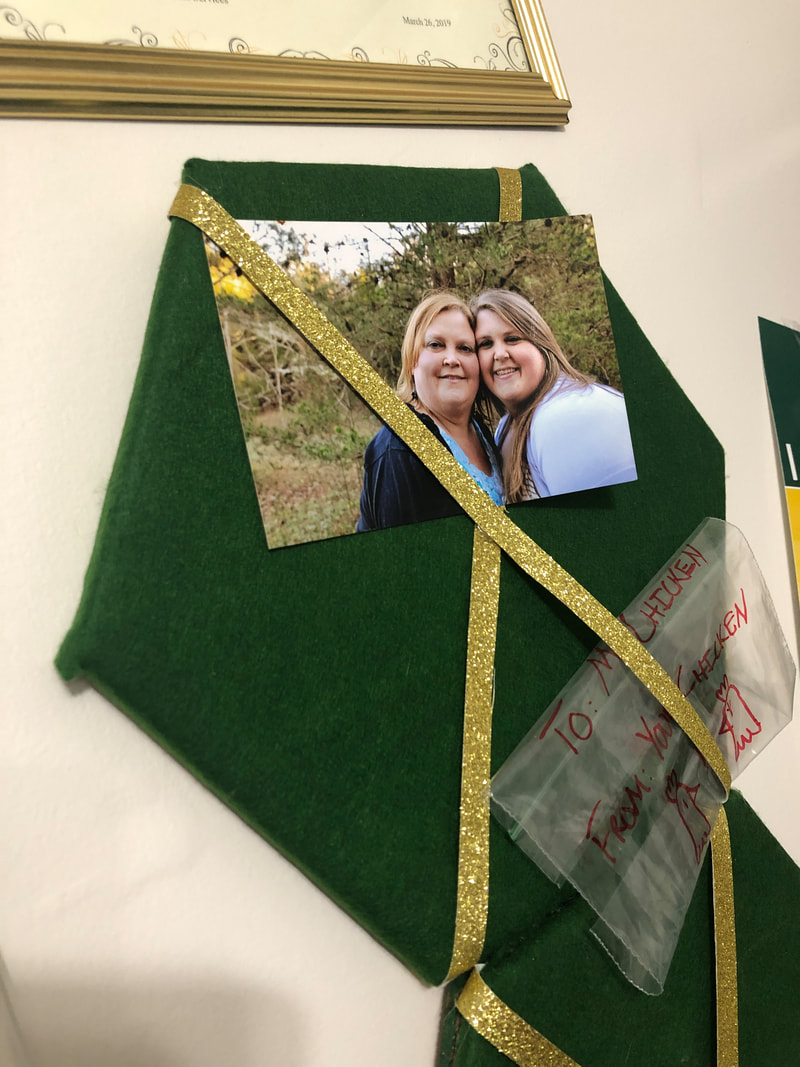
I spray-painted the white roses gold to give it a timeless look! We borrowed the pillars from the church and added some plants for a gardenesque look. Other photo backdrops include a backdrop made of PVC pipe, a painted mural, and more. Figure out what makes most since for your party and do that! 2: THROW OUT THE TRADITIONAL GUEST BOOK!
3: BUY CHEAP, SPRAYPAINT'S YOUR BEST FRIEND!
4: DON'T BE AFRAID TO DIY
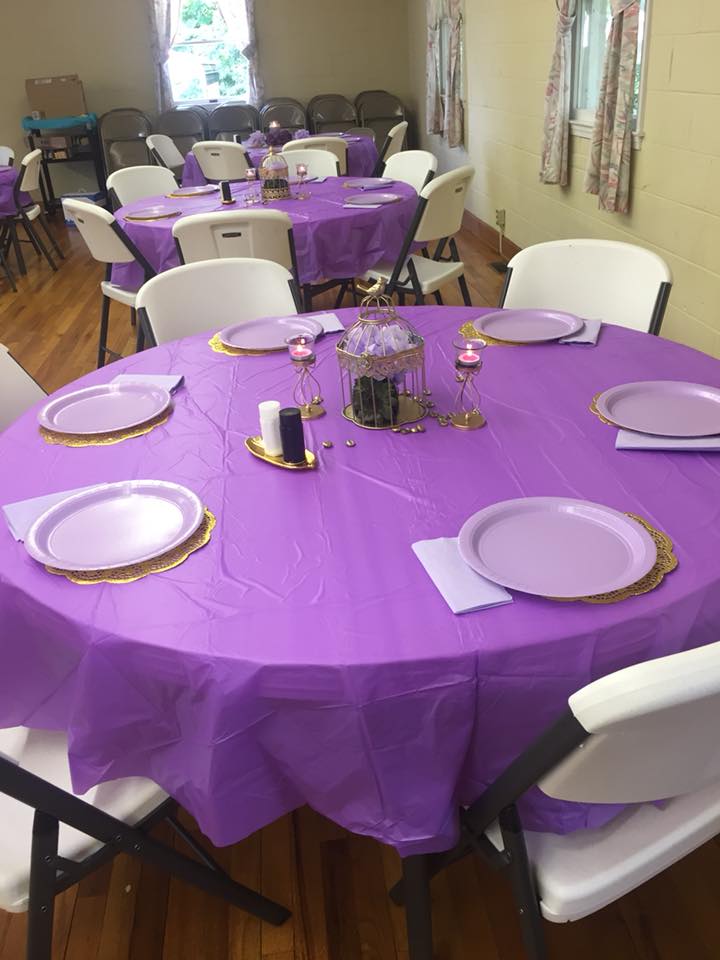
I could sit here all day and tell you DIY projects that you should do for your party. At the end of the day, DIYing is almost always cheaper than purchasing the product! 5: USE ODDS AND ENDS TO MAKE CENTERPIECES
6: MAKE A TABLE POP WITH FABRIC
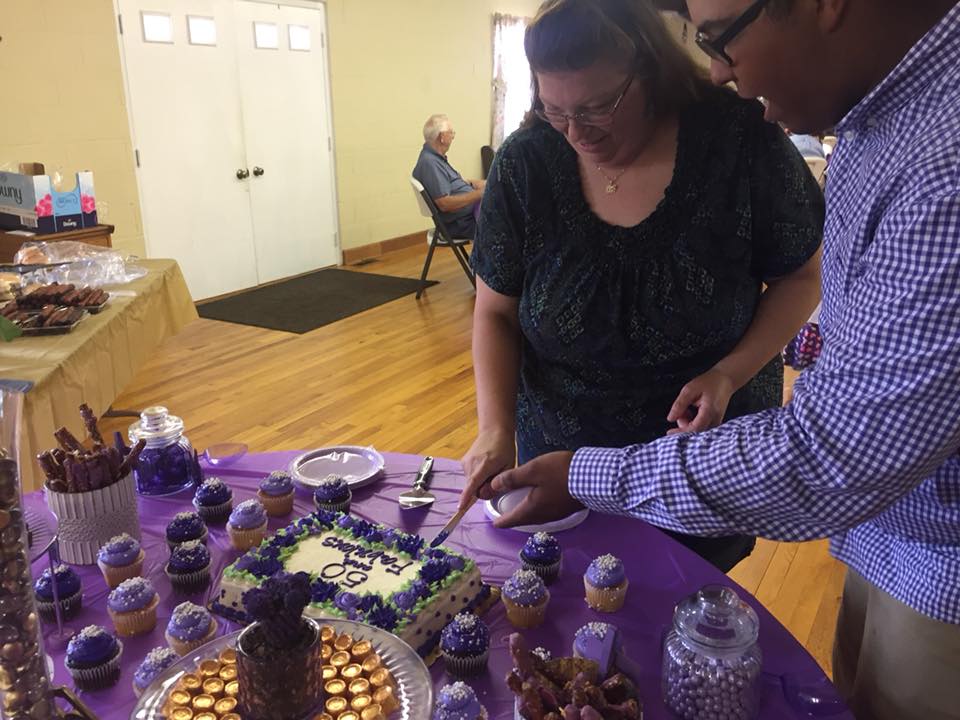
7: ADD GREENERY FOR A FRESH LOOKOn each of the tables at my mother-in-law's party, we added a little succulent plant inside of the bird cage. This brought a bit of nature to the table without overwhelming the coordinated decor. This is an awesome idea because the plants can also work as party favors. I certainly didn't need 12+ succulents and three bigger plants to drive back home three hours with! DIY TO SAVE MONEY FOR THESE THINGS:
2. THE FOOD: Trust me, it is always better to save up for some sort of catering, even if they just drop it off and guests can serve themselves. Having to refill everything when you just want to enjoy the party sucks!
3. TABLECLOTHS AND NICE PLATES: The one thing I always splurge on is tablecloths. That's because the dollar store seldom has a good selection of colors. Instead, I usually go to a party store like Party City for my tablecloths. I usually get the plates from there, too!
1 Comment
For me at least, it is officially summer. That means it’s time for sun, hopefully some pool time somewhere, and fun and colorful projects. While visiting my family for Memorial Day weekend, we decided to do a craft. Instead of choosing something like a canvas, we decided clothing would be more useful for everyone!  What you’ll need:
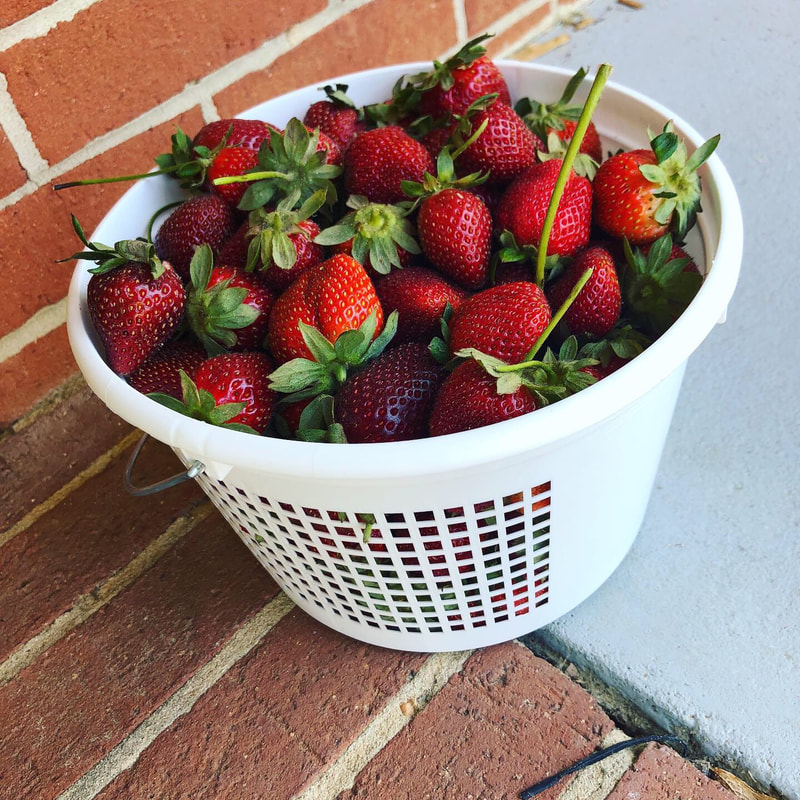
STEP 1: BLEACH THE SHIRT I spiraled my shirt the way I wanted it to look and kept it that way the entire time. If you want one that looks similar to mine, you can pinch the shirt in the middle and twist until the whole shirt is twisted together. head to your sink, wet your shirt, and pour bleach on both sides. Using a gloved hand, massage the bleach into the shirt. Since it is nice and warm outside, I recommend sitting your shirt outside while the bleach does the job. It doesn’t take long. Check back in 30 minutes to find the shirt has turned white or light orange in certain places. STEP 2: ADD YOUR DYES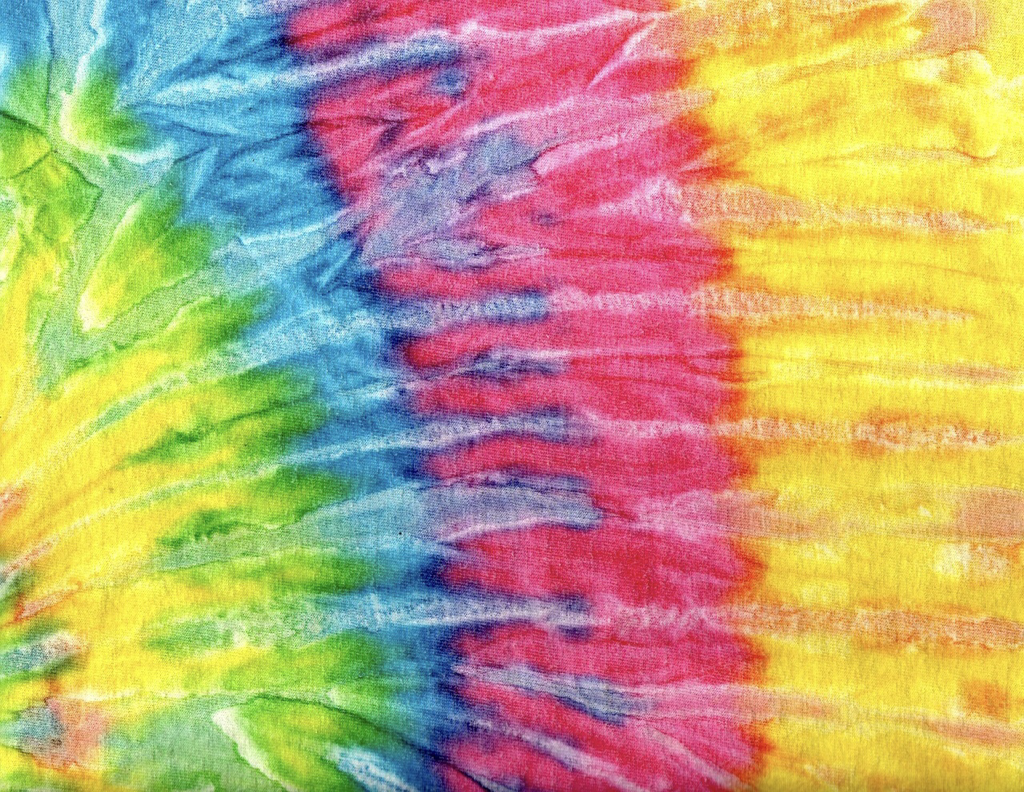 Bring in your shirt and rinse it with water. Remember, leave the rubber bands in place so that you know the tie-dye will hit the bleached areas. After that, add colors to your shirt in whatever places you desire. I noticed that all of the colors did show up, but lighter colors didn’t shine through as well. One tip on my tie-dye box said you could add less water to the dye bottles for a more intense color! I’d recommend doing that with lighter colors! after you’re done with this part, take your shirt back outside to dry. Leave it for 2-24 hours. We left ours outside for maybe 4-5 hours. STEP 3: WASH AND WEAR!After you’ve let your tie-dye shirt “cure,” remove the rubber bands and put your shirt in the wash on cold. Add detergent/fabric softener! I was worried that mine having a bit of a bleach residue would ruin the other shirts, but it didn’t. However, wash with other things at your own risk! after you wash the shirt, dry it and wear it! If you’re a visual learner, check out this video for the process! Today is officially "National Pick Strawberries Day!" This past weekend, anticipating that I could celebrate on my blog, Jonathan and I headed to Gillis Hill Farm Produce in Fayetteville, N.C. to pick local strawberries that we turned into jam and an amazing strawberry cheese cake! Keep reading for strawberry picking tips STRAWBERRY PICKING TIPS
Strawberry season is in the summer. If you burn or get eaten alive by bugs, make sure you prep yourself with sunblock and bug spray. THE BENEFITS OF LOCAL PRODUCEBefore I jump in to talking about the recipes, I wanted to tell you that shopping local has a ton of benefits and it is often much more affordable than people think. Here are my three main reasons why shopping local is the best option: 1: SUPPORTING THE LOCAL ECONOMY
2: SOME LOCAL FOODS CAN HELP WITH ALLERGIES
3: HELPING THE PLANET
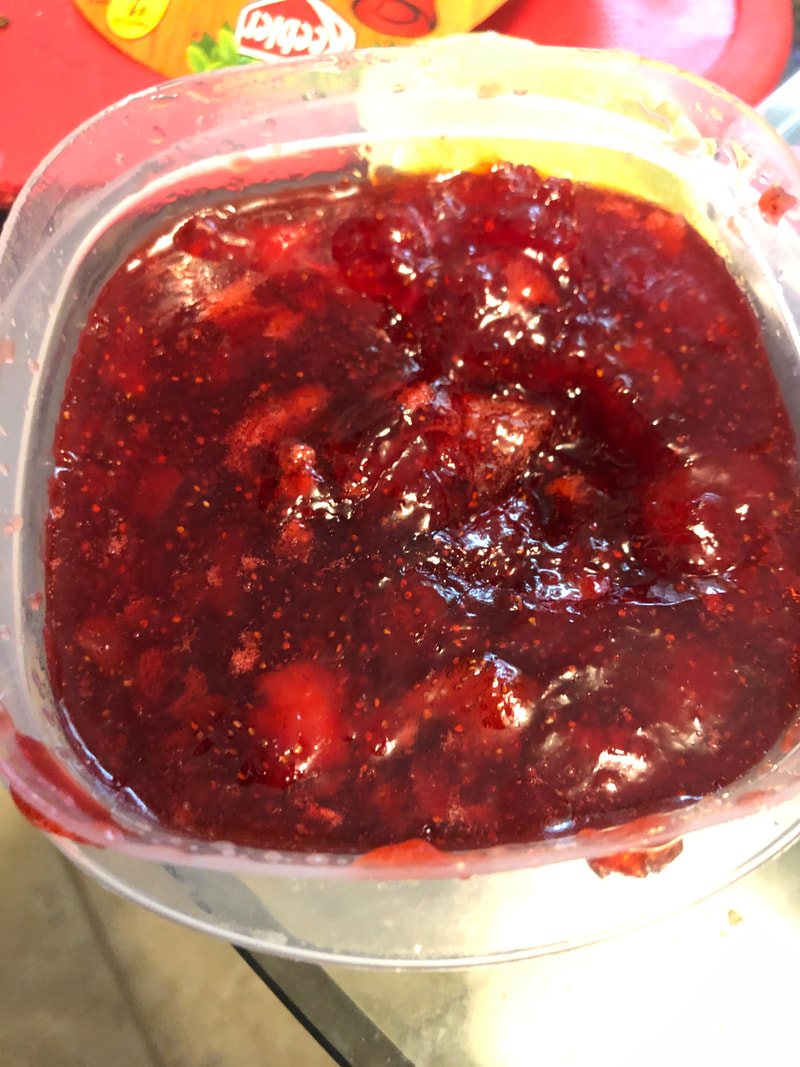
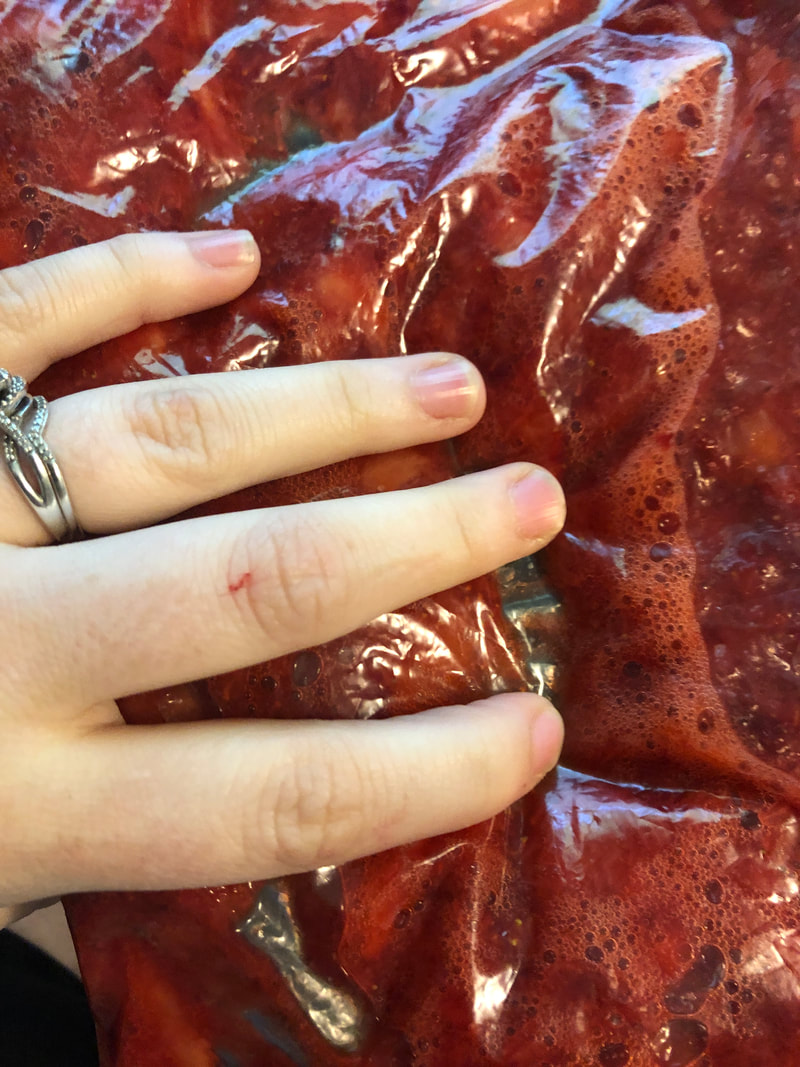
STRAWBERRY JAM RECIPE
BEFORE THAT THOUGH: I'm bolding this because it is important. You're going to want to soak your glass jars and the lids in simmering hot water until you're ready to seal your jars. This allows them to expand and adjust to the heat of the jam!
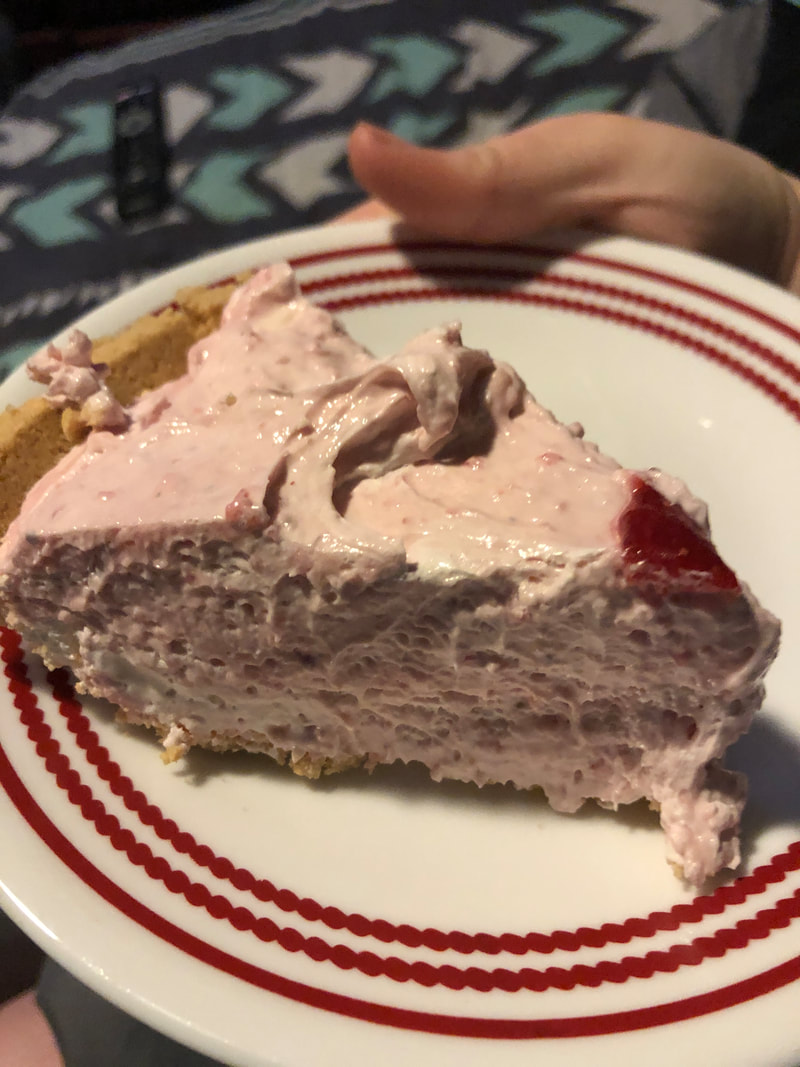
On medium-high heat, bring your butter, fruit, and pectin to a rolling boil. After that, add in the sugar, stirring continuously. Bring it to a rolling boil again and boil the mixture for a minute before removing it from heat. At this point, carefully add your jam to the glass jars and add the lid and screw lid. Make sure to seal this tightly. Turn your jars upside down for 10 minutes, then turn them rightside up. You should hear "pings" over the next 30-ish minutes. This means that your jam is sealed and ready to be gifted. I'm giving jam to family members and coworkers! STRAWBERRY CHEESECAKE
Even with these changes, the cheesecake is fluffy, delicious, and made with local strawberries! NOW IT'S YOUR TURN!Today is "National Strawberry Picking Day," but you can celebrate any time this summer. Pack up the kids and take them out to your local strawberry patch. Support local farms!
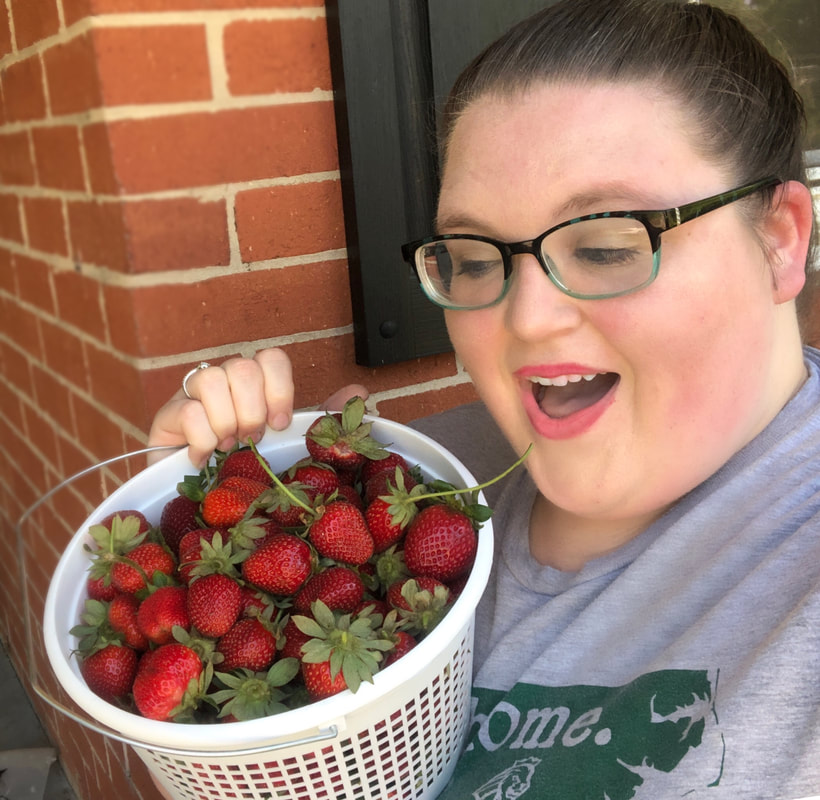
If you're in Fayetteville, I really adored the Gillis Hill Farm Produce patch. They had the longest rows of strawberries I've ever seen! If you go see them, let them know you read about me. Also, make sure to sample their Strawberry Cider. We brought home two bottles of it! Everyone has those specific products that they won’t give up! Today, I wanted to share five of my holy grail products ranging from makeup to skincare. I’m going to tell you the price that I found for the product and where else you could find it: 1: NEUTROGENA’S HYDRO BOOST CLEANSING GEL | $10
2: MORPHE 35M BOSS PALETTE | $24
3: BATH AND BODY WORKS STRESS RELIEF LOTION | $13.50
4: JOHN FRIEDA FRIZZ EASE TOUCH-UP CRÈME | $7.50
5: JEFFREE STAR’S VELOUR LIQUID LIPSTICK | $18
WHAT ARE YOUR HOLY GRAIL PRODUCTS?Comment down below or share some of your holy grail beauty products with me on Instagram, Twitter, or on my Facebook page!
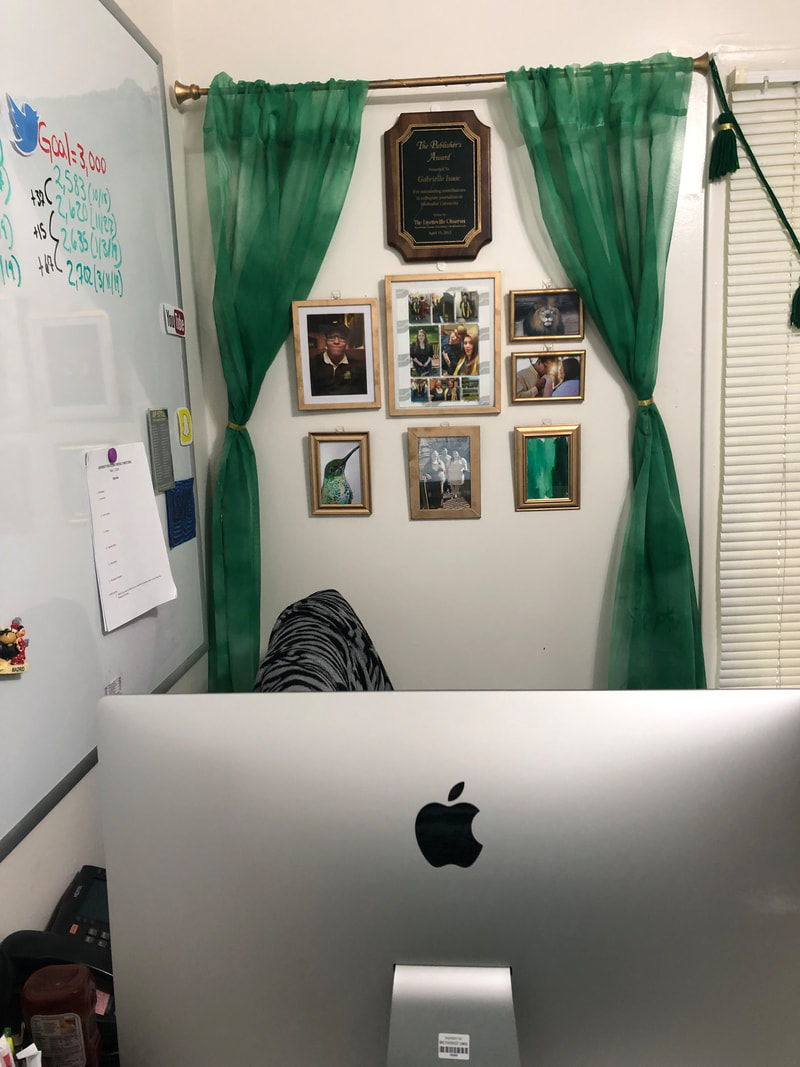
Coming up on a year ago, I decided that I had enough of the white walls surrounding me in my full-time job's office. So, I got to work decorating. A lot of what I did was DIY, so I wanted to share that as well as some decor and functional decor tips in today's blog post! Without further ado, here we go! YOUR THEME
DIY 1: DYED CURTAINS & CUSTOM PICTURE FRAMES
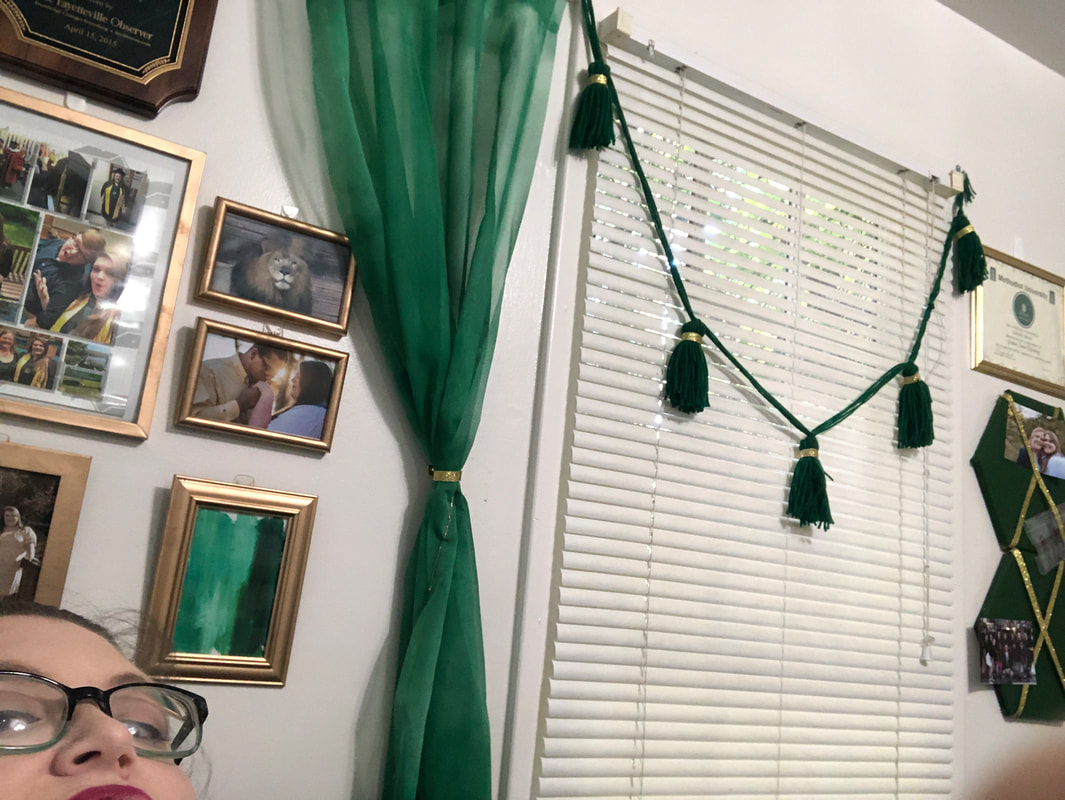
I used a gold glitter ribbon to gather the sides of the curtain, and I tacked them into the wall. I also added fairy light, which were great for a while, but they don't last very long. You have to be religious about turning them off. DIY 2: WINDOW TASSELS
DIY 3: CORK BOARD PIN STATION
DIY 4: CUSTOM-PAINTED SUPPLY JARS
FUNCTIONAL DECOR 1: BUSINESS CARD/NAME PLATE
FUNCTIONAL DECOR 2: PINEAPPLE OIL DEFUSER
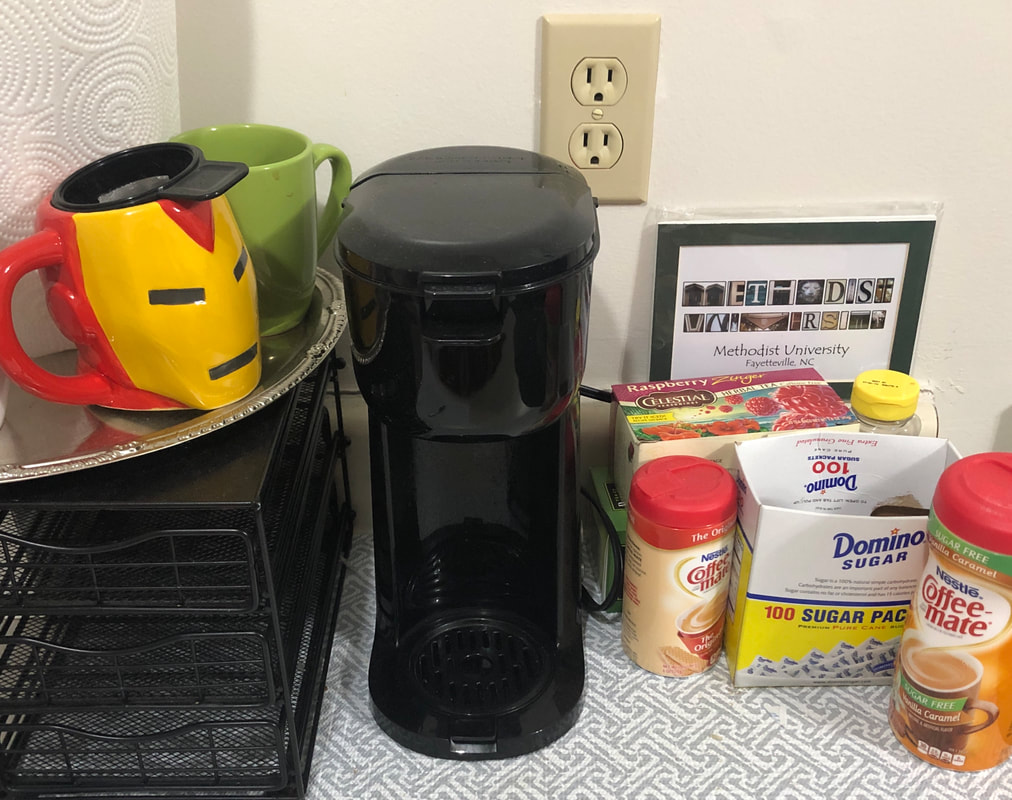
FUNCTIONAL DECOR 3: COFFEE/TEA STATION
OTHER TIPS
Some of you have even consulted with doctors, paid for expensive hormone injections or surgeries, and cried over so many negative pregnancy tests that it makes you feel sick. You long to have a bouncing baby of your own, but things aren’t that easy. Your friends around you are getting pregnant so easily, sometimes by accident. You wish for their uterus and their perfectly balanced hormones.
I know it isn’t fair. The world is filled with terrible mothers who abuse their children and treat them with far less than love. To those of you that I know, you have all the characteristics of an amazing mother. You’re caring, loving, supportive, self-sacrificing, wise, and playful. You’re funny, cool, kind, and level-headed.
To the friends who treat us like their own and exude the love of a mother to everyone they pass. You deserve to hold a child one day. Remember that, on Mother’s Day, far fewer mothers will get a visit from their children than you think. You are special and, one day, a child will be lucky to call you mom.
Sincerely, Gabrielle Allison TheOpinionatedOne.com
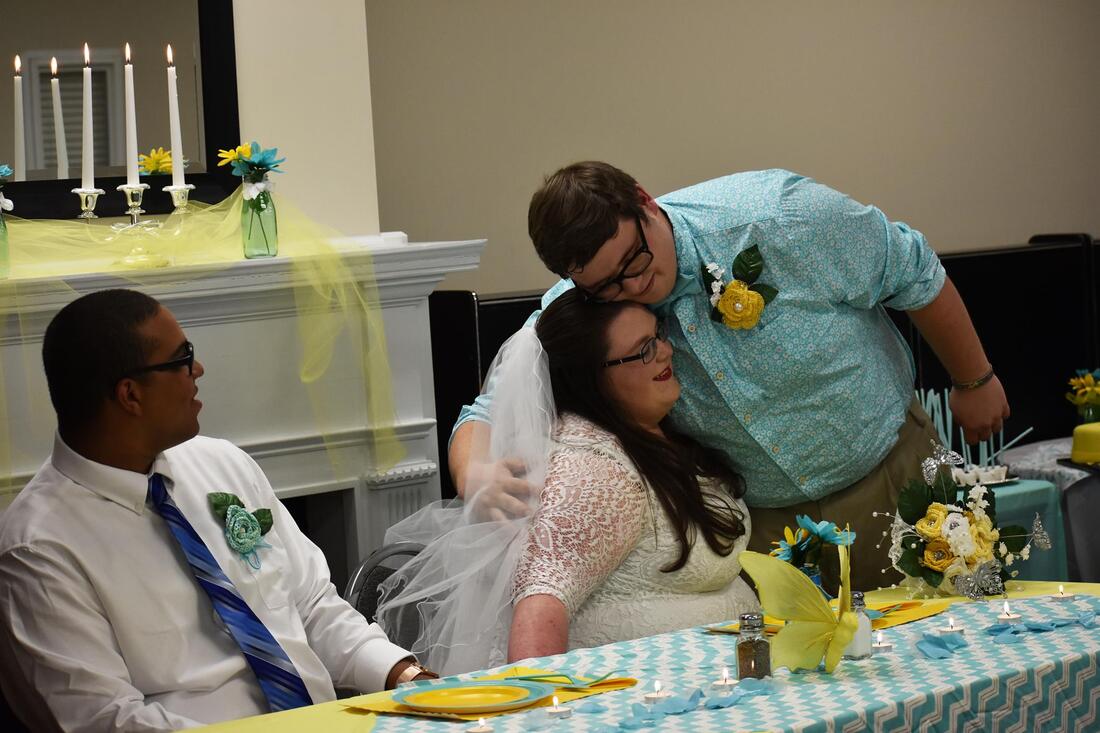
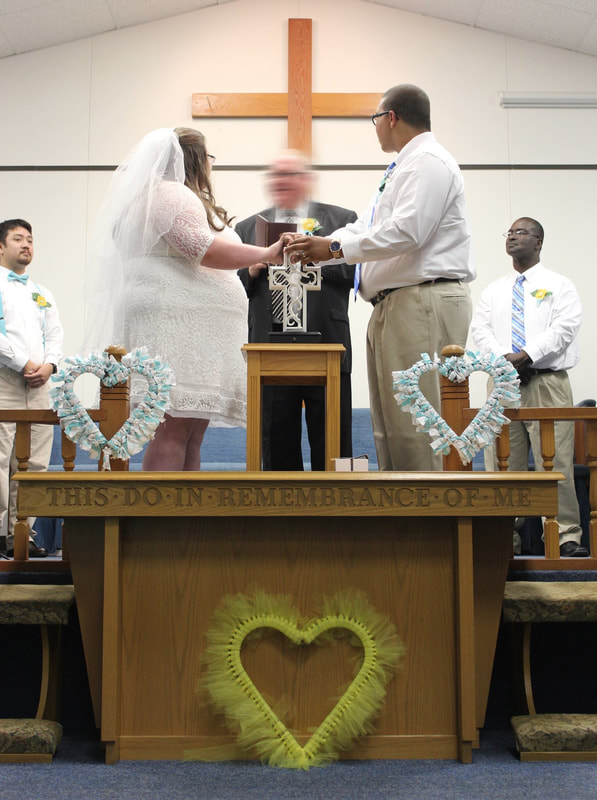
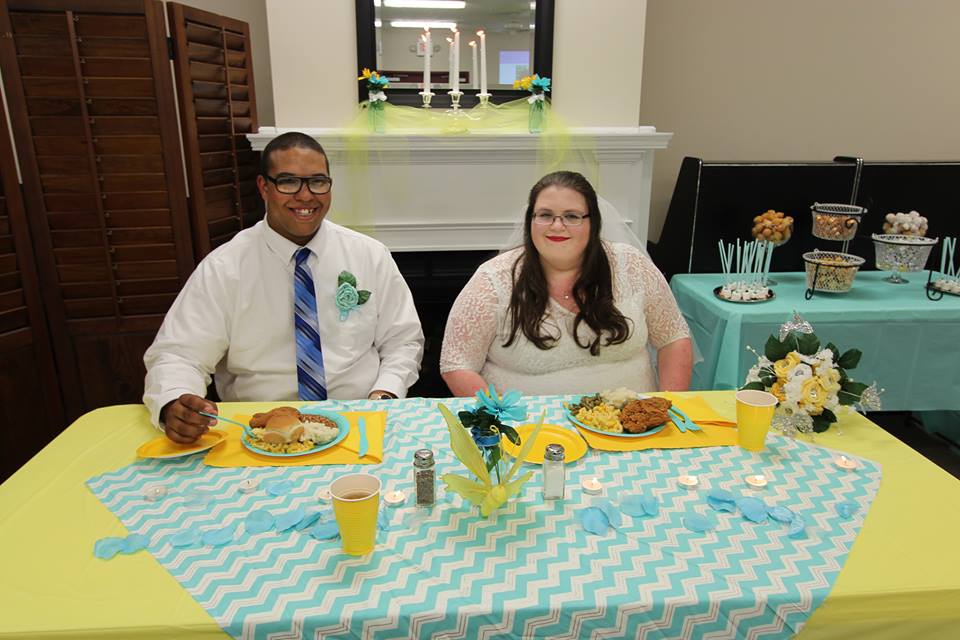
So, with my tax return and a little bit of extra money I had after paying bills in hand, we set off to put on a budget wedding. Here are the individual things we did to make the wedding more low-cost: THE VENUE As previously mentioned, we chose to have our wedding in the church we were attending. It was free and we knew that it would accommodate just about the right number of people. There were some down sides to this, of course. Because it was in a southern Baptist church, we didn’t share a first dance. That is something that I regret, but that is more because we didn’t have the cash to spring for a nicer venue for the reception. We had the reception in the church’s fellowship hall. The good thing about this was that it was free and it was easy to reserve the space. THE DECORATIONS
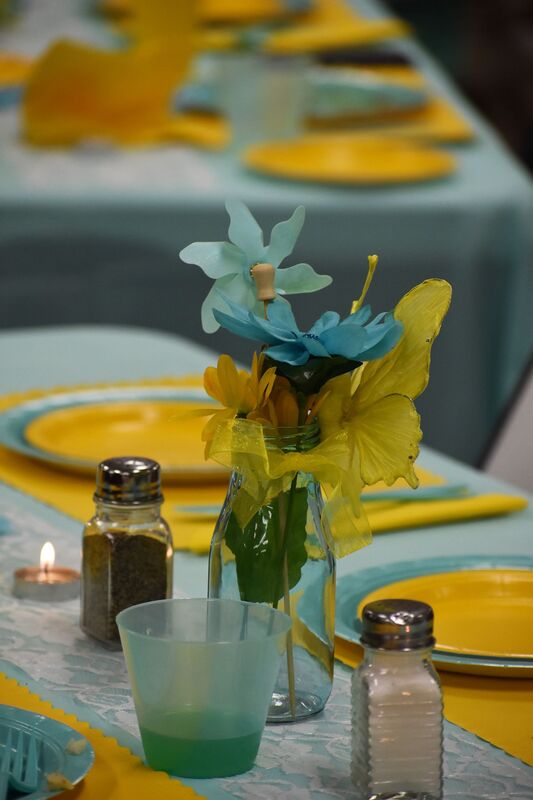
We used some of the leftover fabric from the hearts on our table. We bought some little, stained-glass vases from a craft store and filled them with fake flowers, butterflies, and pinwheels from the dollar store. I bought most of my décor from the dollar store! THE OUTFITS
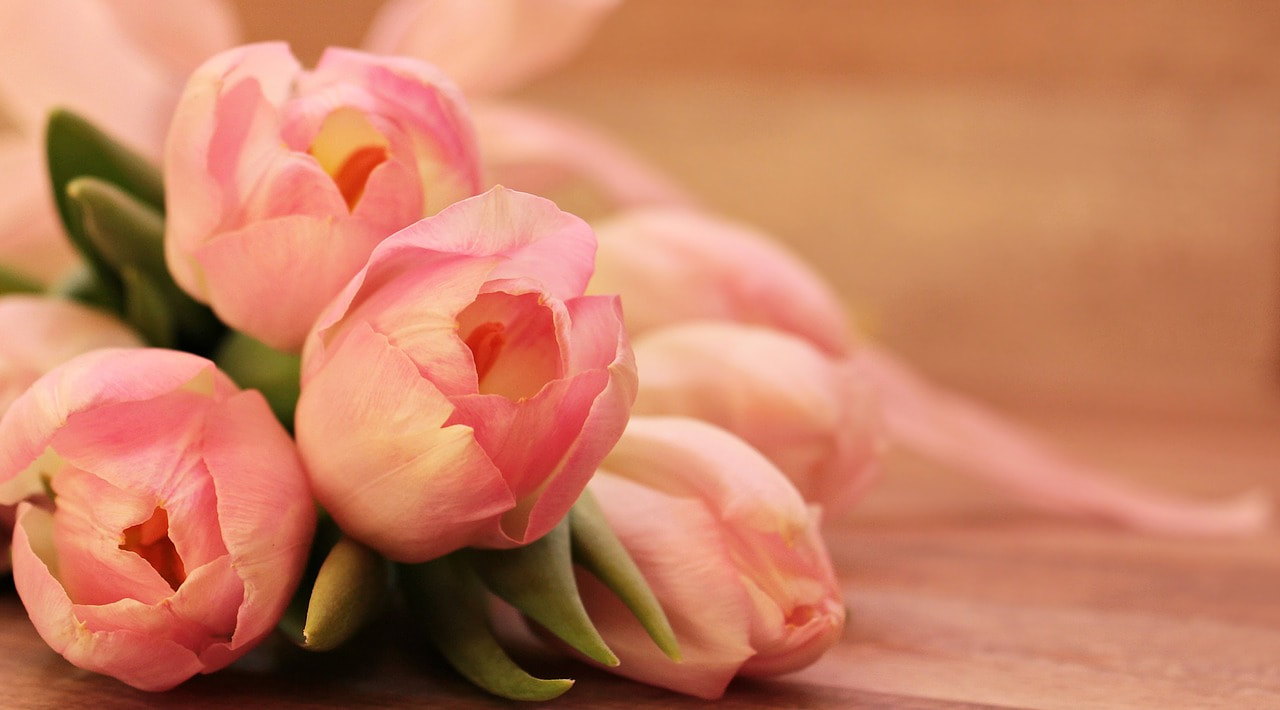
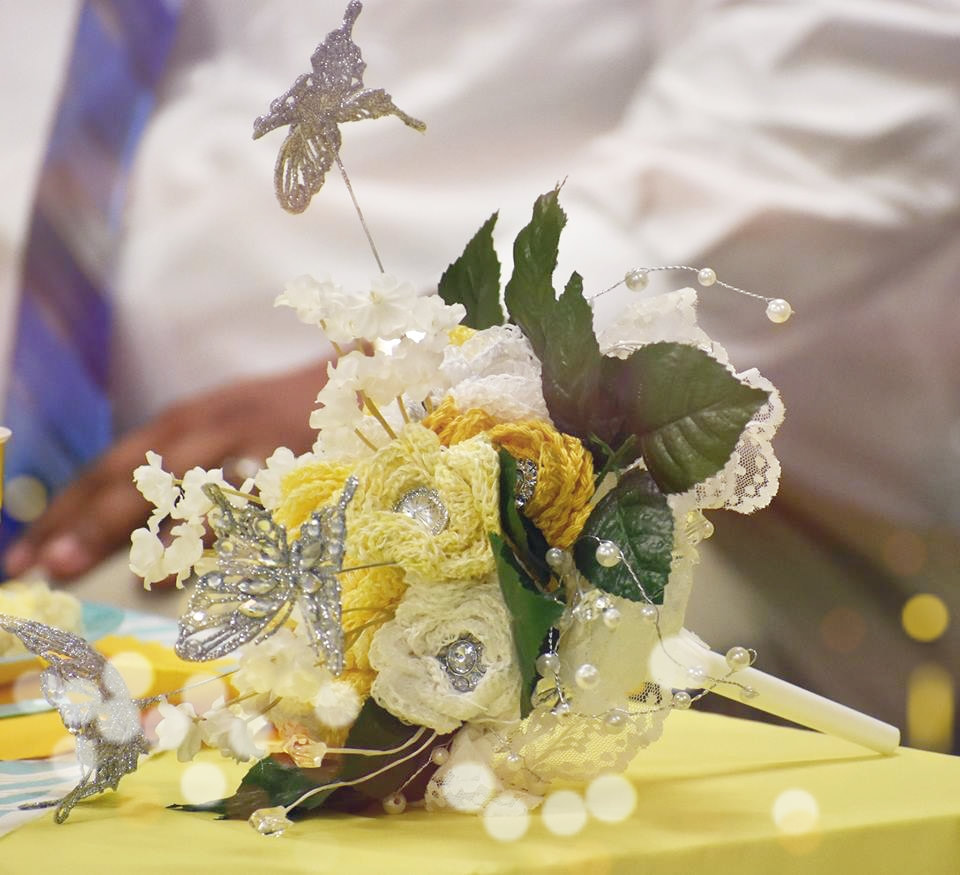
THE FLOWERS
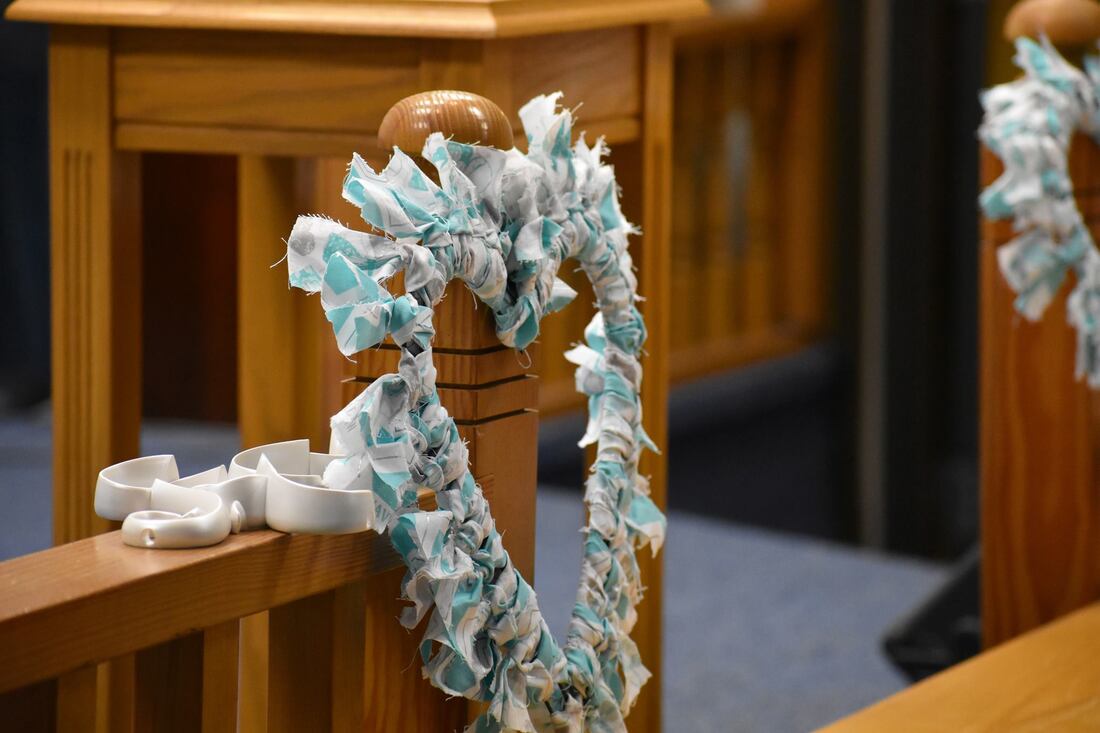
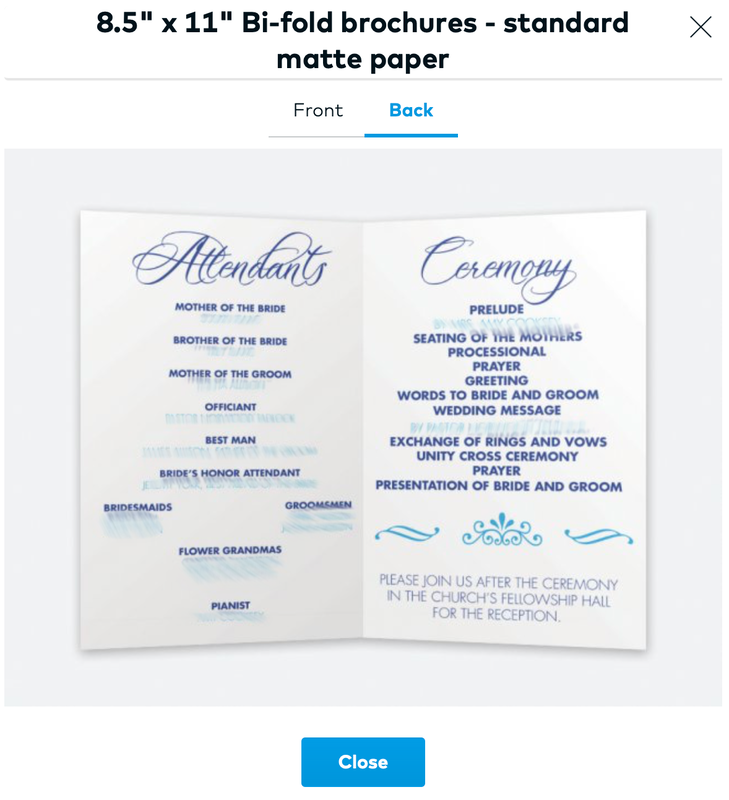
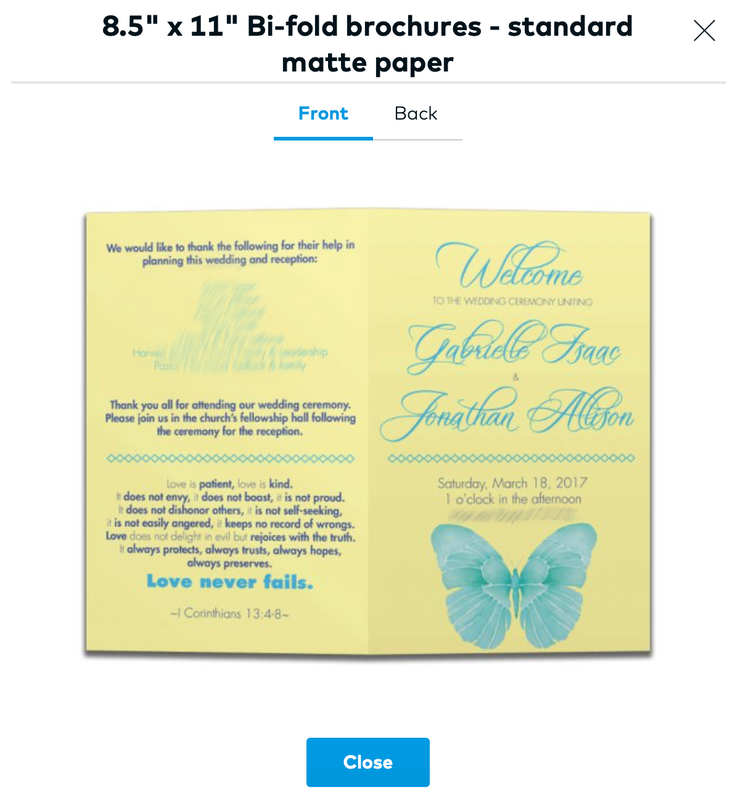
I don’t have exact numbers, but I came out way under $100 for the yarn, and my mom made them for me for free! 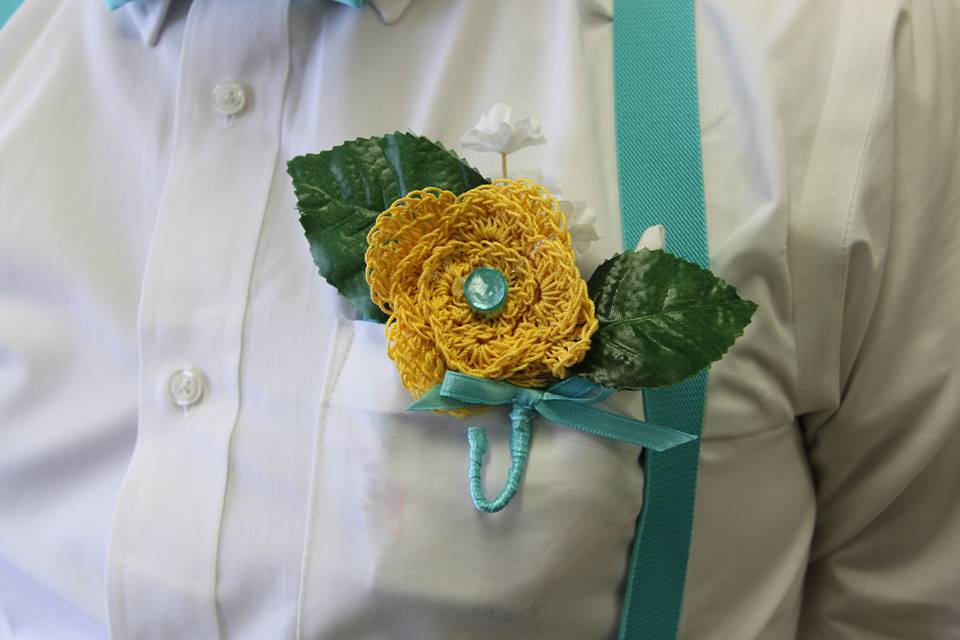 THE PHOTOGRAPHER I had a friend from work take photos at my wedding. She did it for me as a gift for my wedding. She didn’t have much equipment, and I had to edit these for myself. It was free and I got what I needed. But, I know that a lot of my family wish there were more. I’m not going to complain because it was free and I’m glad I have something! THE PROGRAMS
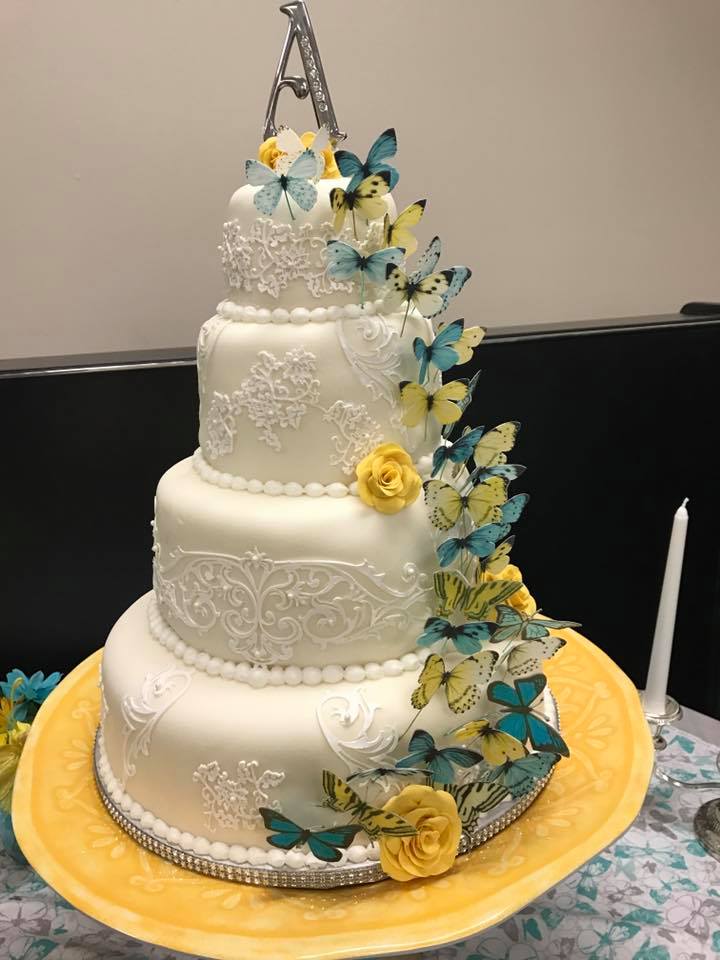
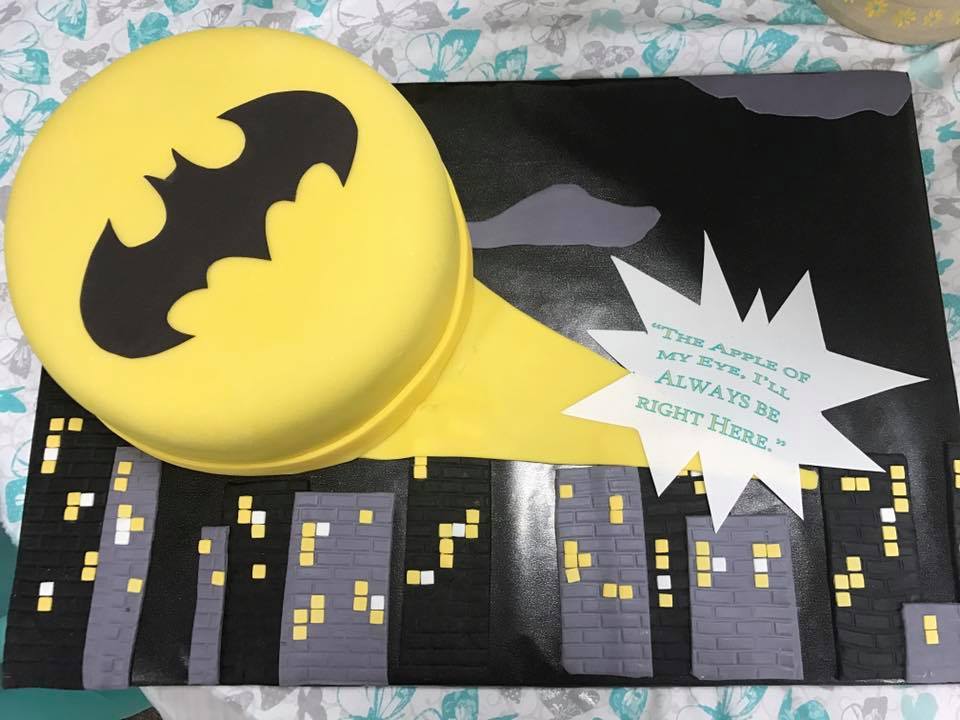
I also designed my own invite, because I’m a graphic designer. I also made a little activity book for the kids to keep them entertained during the more boring parts of our nuptials. I did blur some information and names, but you see the basic idea! THE CAKE
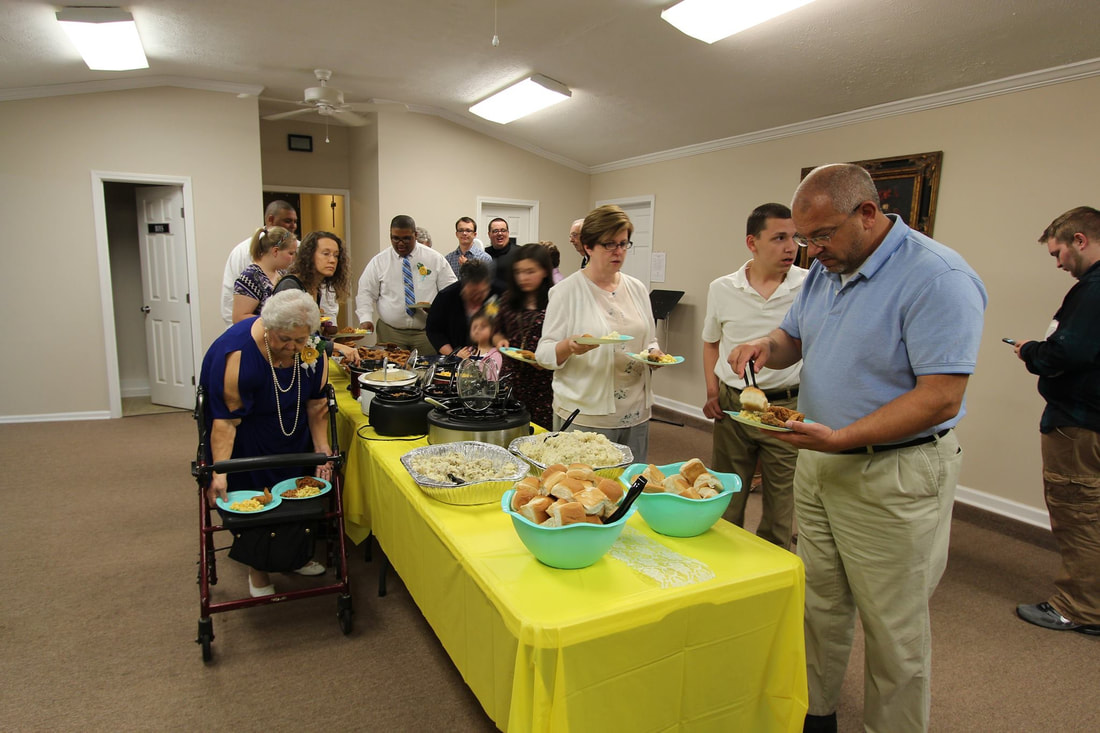
THE FOOD
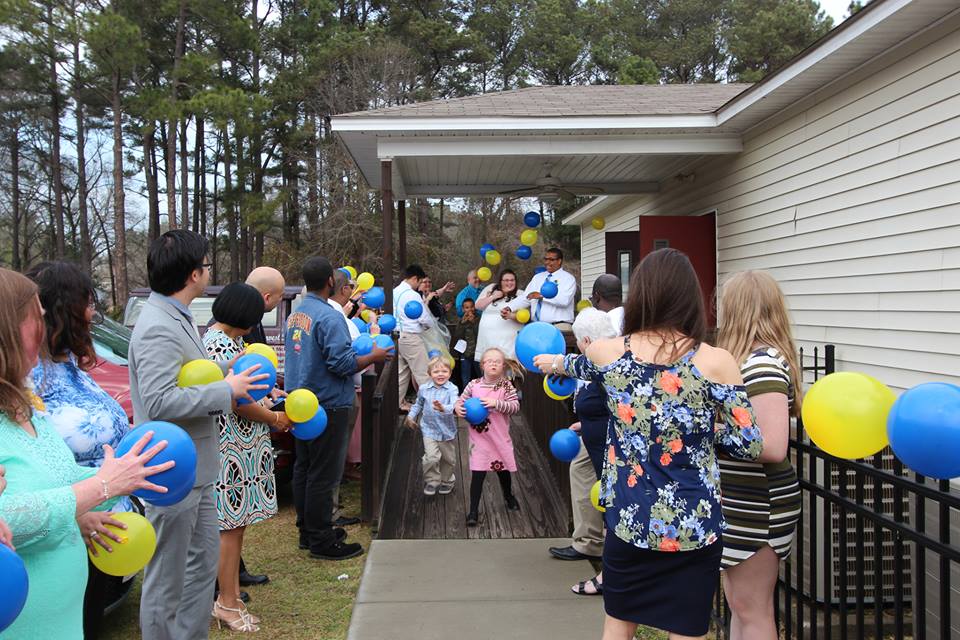
The food was also good because of the hand cooking J, but I wish it was less intense. I would recommend doing some sort of catering, but we just didn’t have the money for it! THE EXIT
CAUTIONS
This photo is my favorite. My brother had returned a ring to me that he gave me when I was younger. It made me cry! MUCH THANKS TO:
|
Archives
October 2022
Categories
All
|


 RSS Feed